Austin Area Revit User Group Meeting
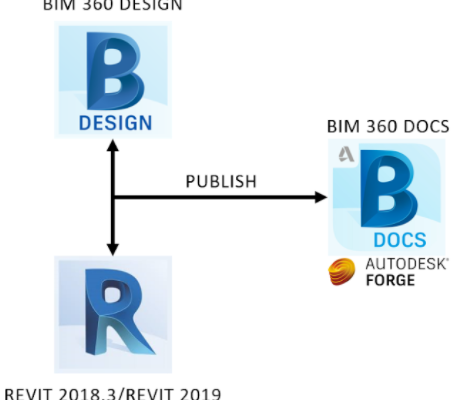
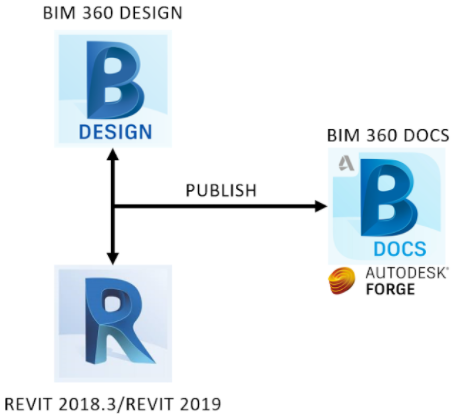
Will you be in Austin on Tuesday, May 8th, 2018? Come listen to Xavier Loayza talk about “BIM 360 Design – Transitioning to the New Revit Cloud Worksharing”
[···]
Will you be in Austin on Tuesday, May 8th, 2018? Come listen to Xavier Loayza talk about “BIM 360 Design – Transitioning to the New Revit Cloud Worksharing”
[···]
Typically when people hear the word Navisworks they automatically think of clash detection… Is that all that Navisworks is really capable of? The answer is No.
There are a variety of things possible through Navisworks. For instance, creating a simulation. It is one of the most beneficial ways to get organized out in the field, and cut down on dead time.
Simulation
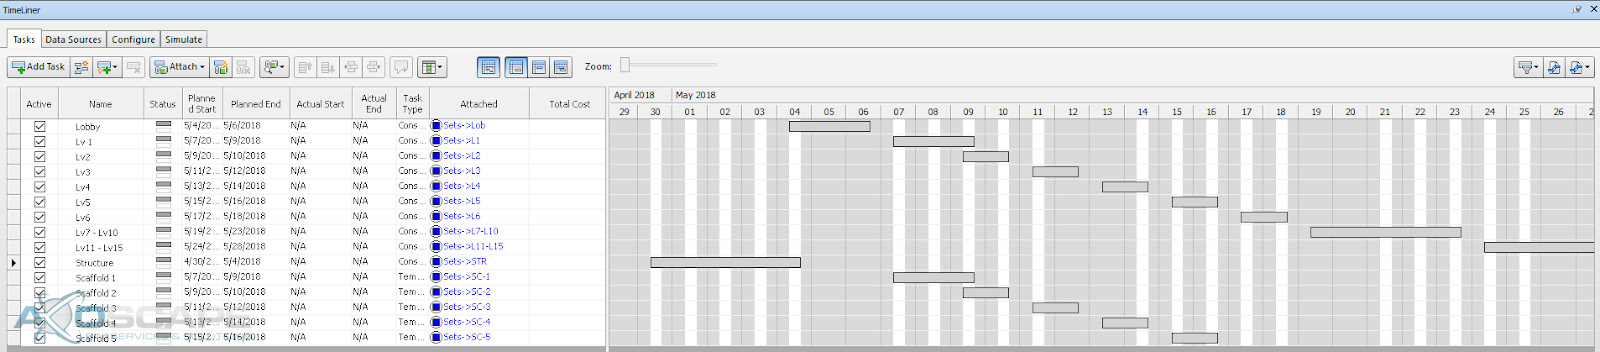
This process consists of a schedule with start dates, end dates, and phasing. With the simulation capabilities, it is possible to simulate the order and process of how things will occur out on site. Here’s a glimpse of what the schedule looks like.
There are multiple ways to schedule things out. The first way would be within the program itself. To start scheduling components, they will have to be apart of a set.
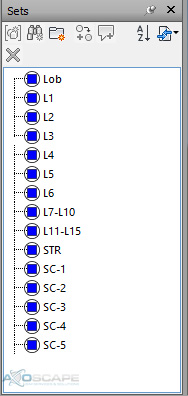
(A set in Navisworks is a group of selected components.)
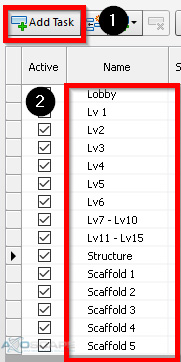
Once all the sets are formed, then the task will need to be created and named accordingly. The name of the task will appear on the simulation as the video progresses.
There are settings to control the content that is visible on the side of the screen.
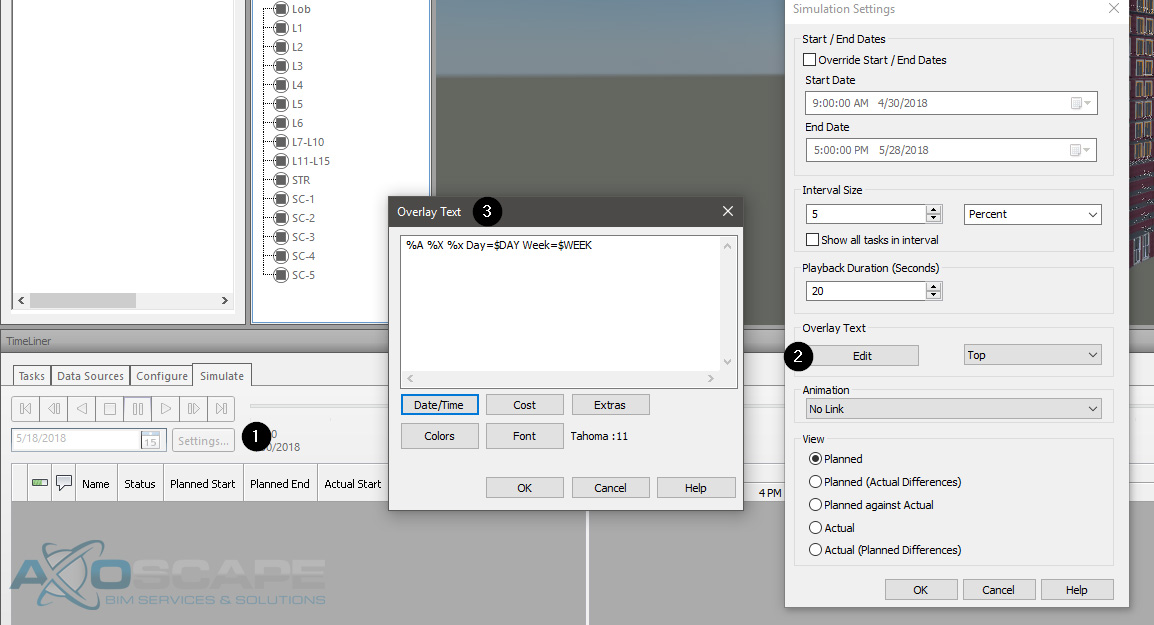
Within here, the dates/ times can be adjusted to display actual dates/ time (May 2, 2018, May 3, 2018, etc) if needed, or it could be a generic date etc (day 1, day 2, day 3…) There are plenty of other factors that can be included.
Once the task is created, the next step will be to attach the sets to the corresponding task. To attach sets to a specific task, right click on the “attached” column and go to the “set” that needs to occur at that task.
Lastly, set all the attachments to a “task”, and then add a start and end date to each one.
An alternative way to set up a schedule is to import a “csv” file (comma-separated values). This process involves more typing, BUT it’s a lot faster in the long run. The sets will have to be configured beforehand in order for this to work. Only critical step in this process is to have the nomenclature under the “Attached” column match the “sets” nomenclature, or else the “Attached” column will be empty.
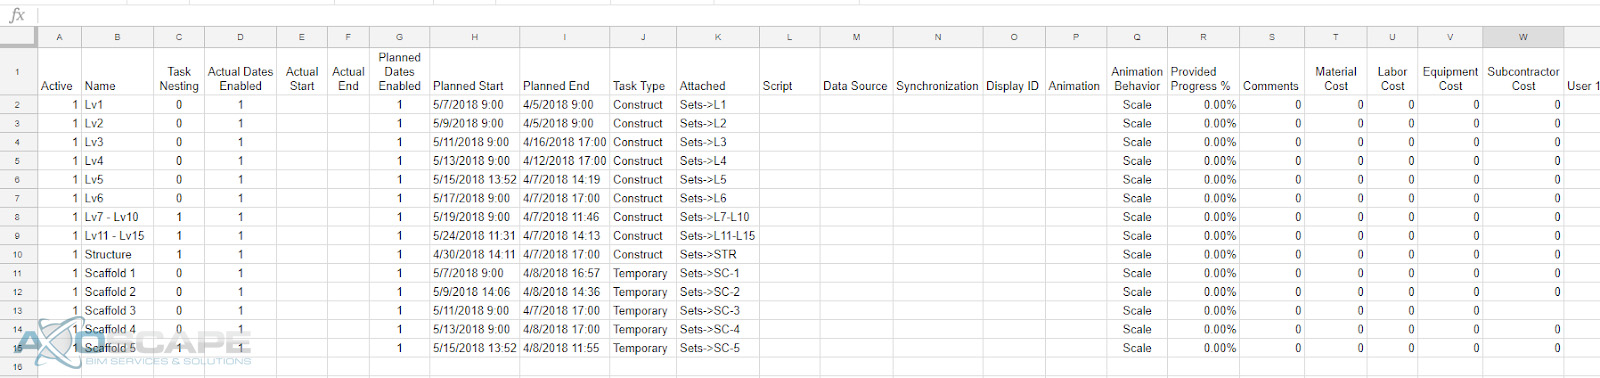
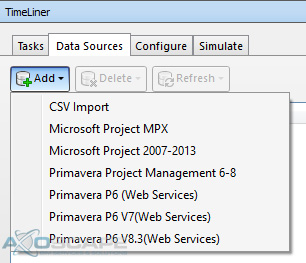
The chart above represents the layout of how it’s supposed to be laid out before importing into the Navisworks file. To import the csv or any other excel file format, go to “Data Sources” > click “Add” > select the file format that will be imported.
Once imported, it should populate the schedule within Navisworks. The only downside to importing a csv or any excel format is that it only populates Monday-Friday. Saturday and Sunday will remain empty and when this is exported, there will be a long pause in between Friday and Monday. Now if this isn’t a problem then this method would be ideal but if not, then there’s a little manual work to be done.
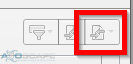
To export the simulation, click on the “Simulate” tab and click on a box with two arrows pointing to the center.
This will bring up a window with some export options. This portion is more of a personal preference and how the simulation will be used.
