When creating rafter tails with a beam system, it can be difficult. Also, if you need to have a custom rafter tail end, you will need to modify both ends of the beam to your desired design.
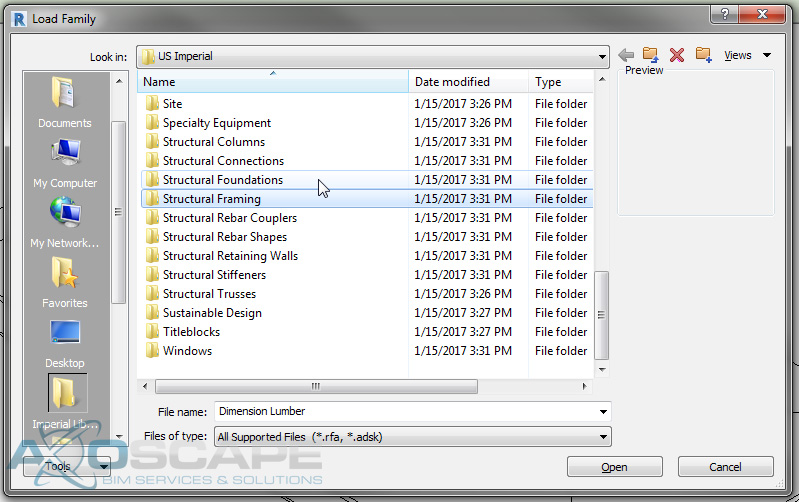
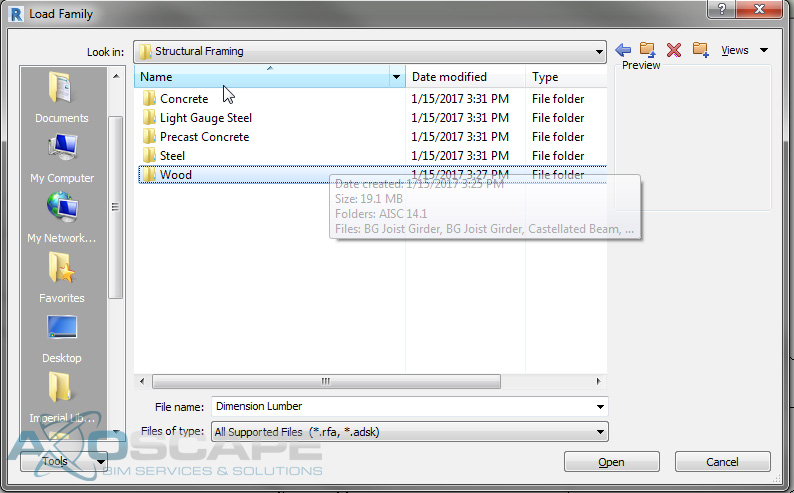
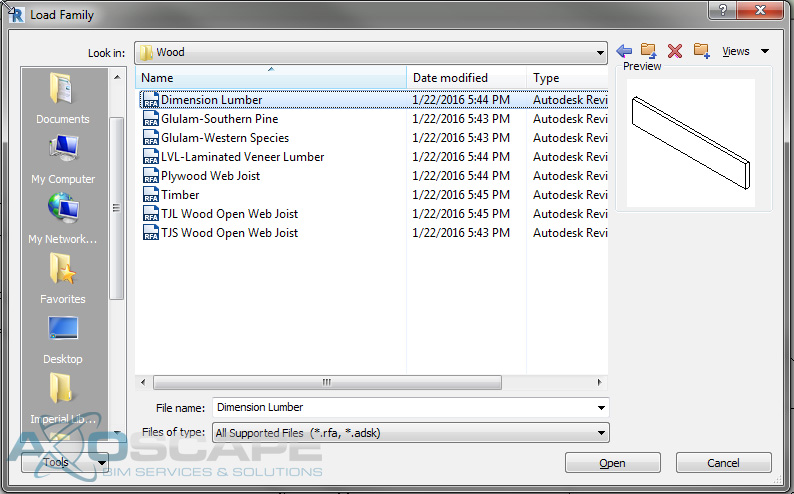
- Select the structure tab and select the beam tool. Then load the desired structural framing family you would like to use.
- Now, after selecting your desired beam, switch to the 3D view and before selecting lines to create the beam make sure the “3D Snapping” box is checked.

- Use the “pick lines” select the ridge, hips, valleys, and edges of the roof.
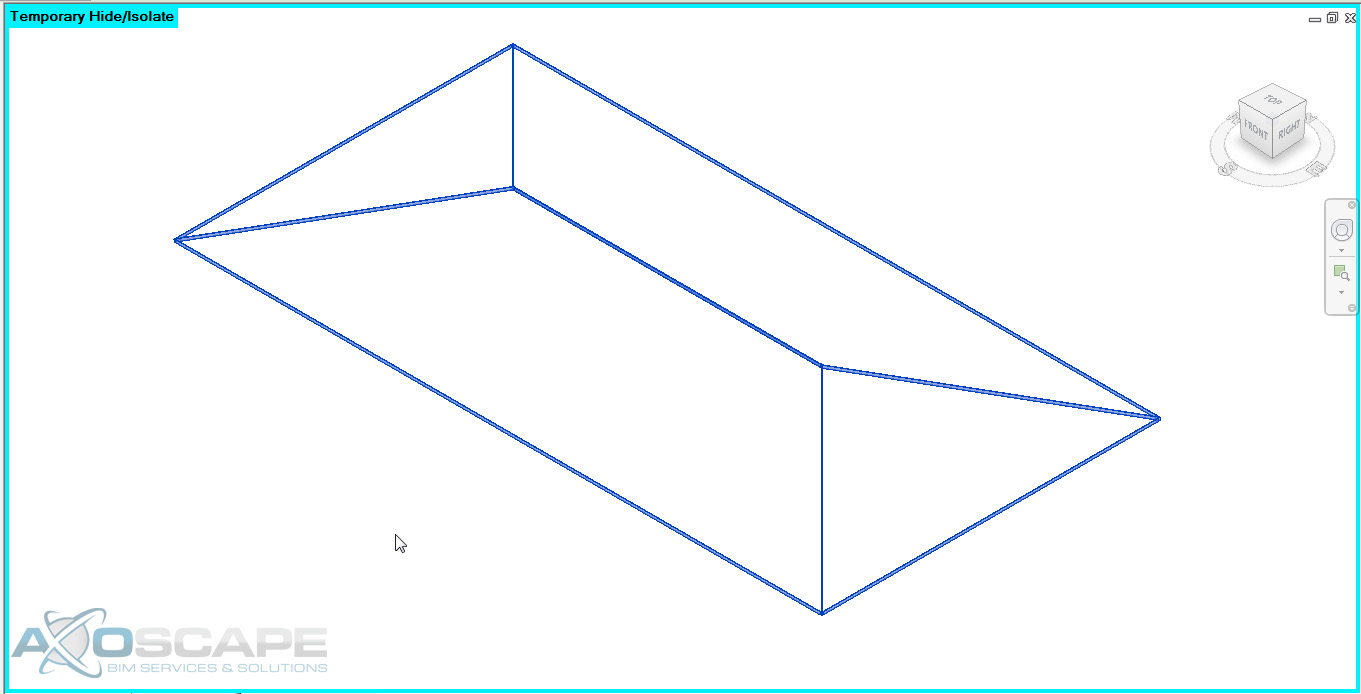
- Select all of the beams you just placed and isolate the beams using the “isolate element”
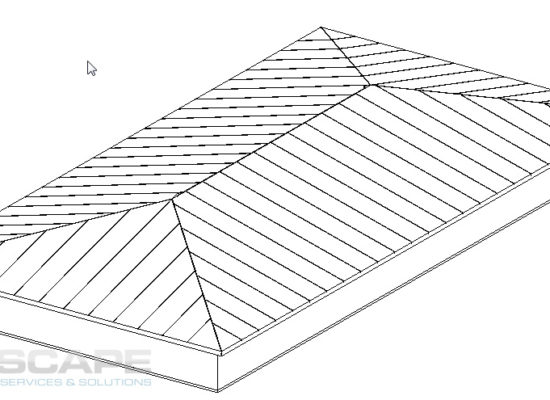
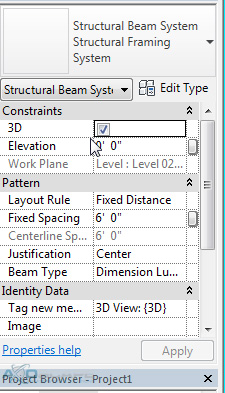
- Go back to the structure tab and select the beam system tool. Make sure the 3D box id checked before selecting the beams. Then using the “pick supports” and select one section of the roof beams.
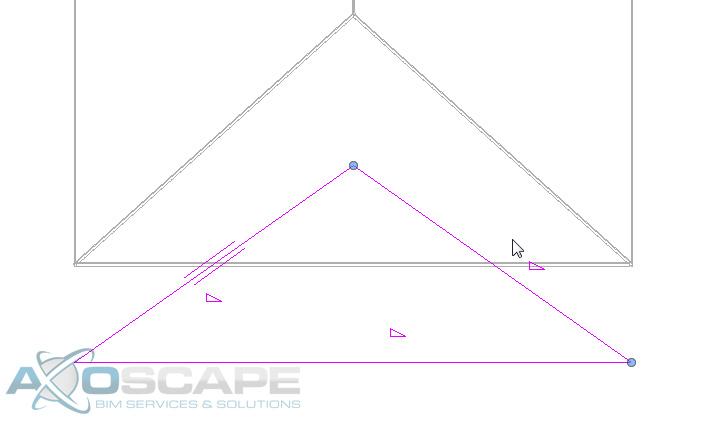
- At the bottom corners, you will need to make two straight line so that the rafters are perpendicular to the roof edge. Select one as the “beam direction”
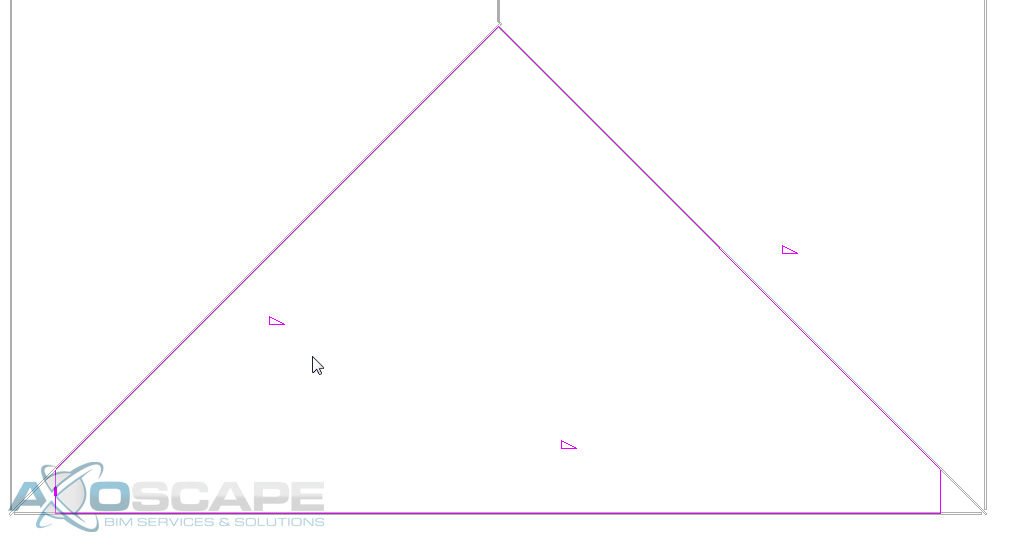
- Do the exact same thing to the other sides of the roof to continue to have the rafter tail on all sides.

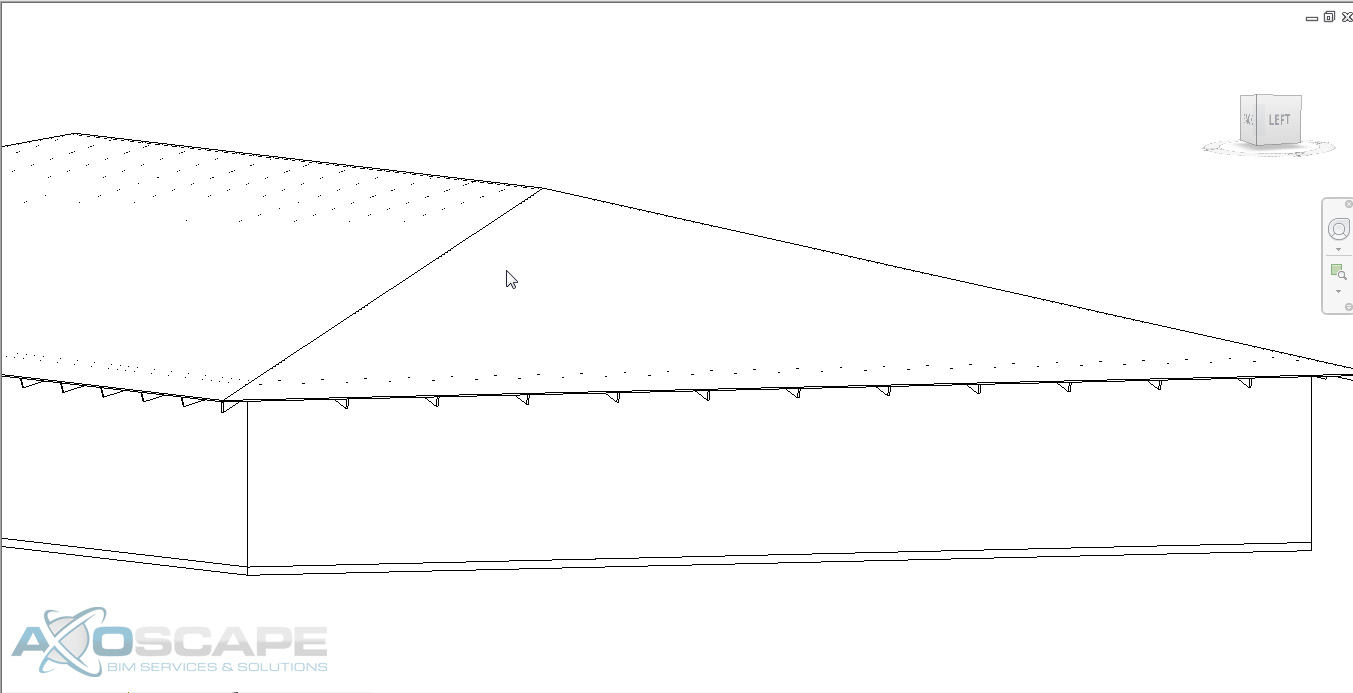
- Un-isolate the roof rafters and beams, and you can see the rafters and beams through the roof. But before we deal with that create a design option called “fascia” so that you can hide the beam that is at the edge of the roof.
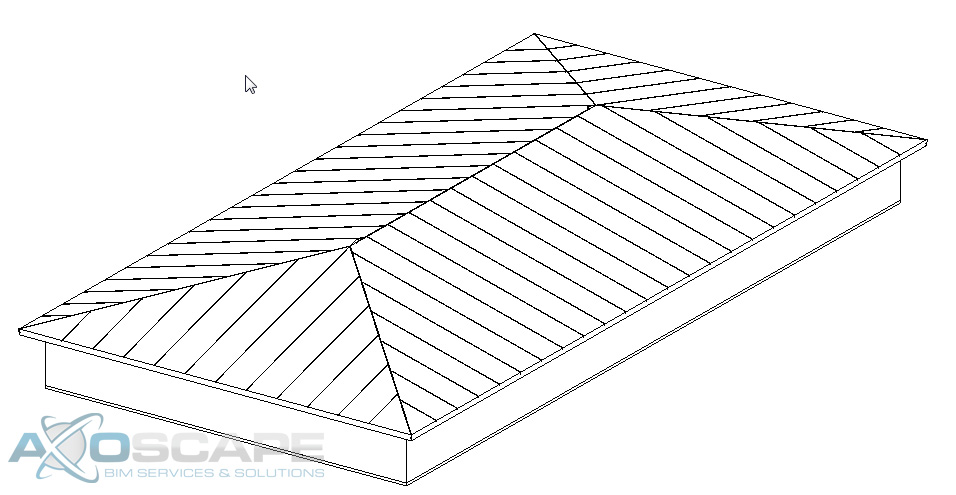
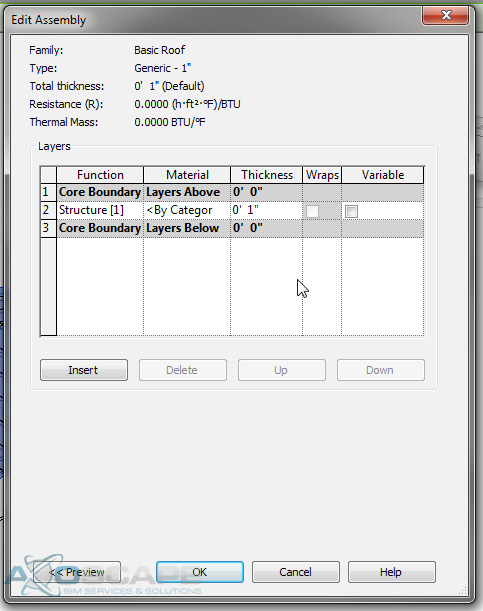
- To hide the rafters and beams you will need to modify the roof and make sure that the roof sits on to of the rafters and beams. Make the roof 1” thick (or what the thickness of the desired roof system). And then offset the roof so that it sits on top of the rafters.