In this guide, we will be covering cameras in Enscape.
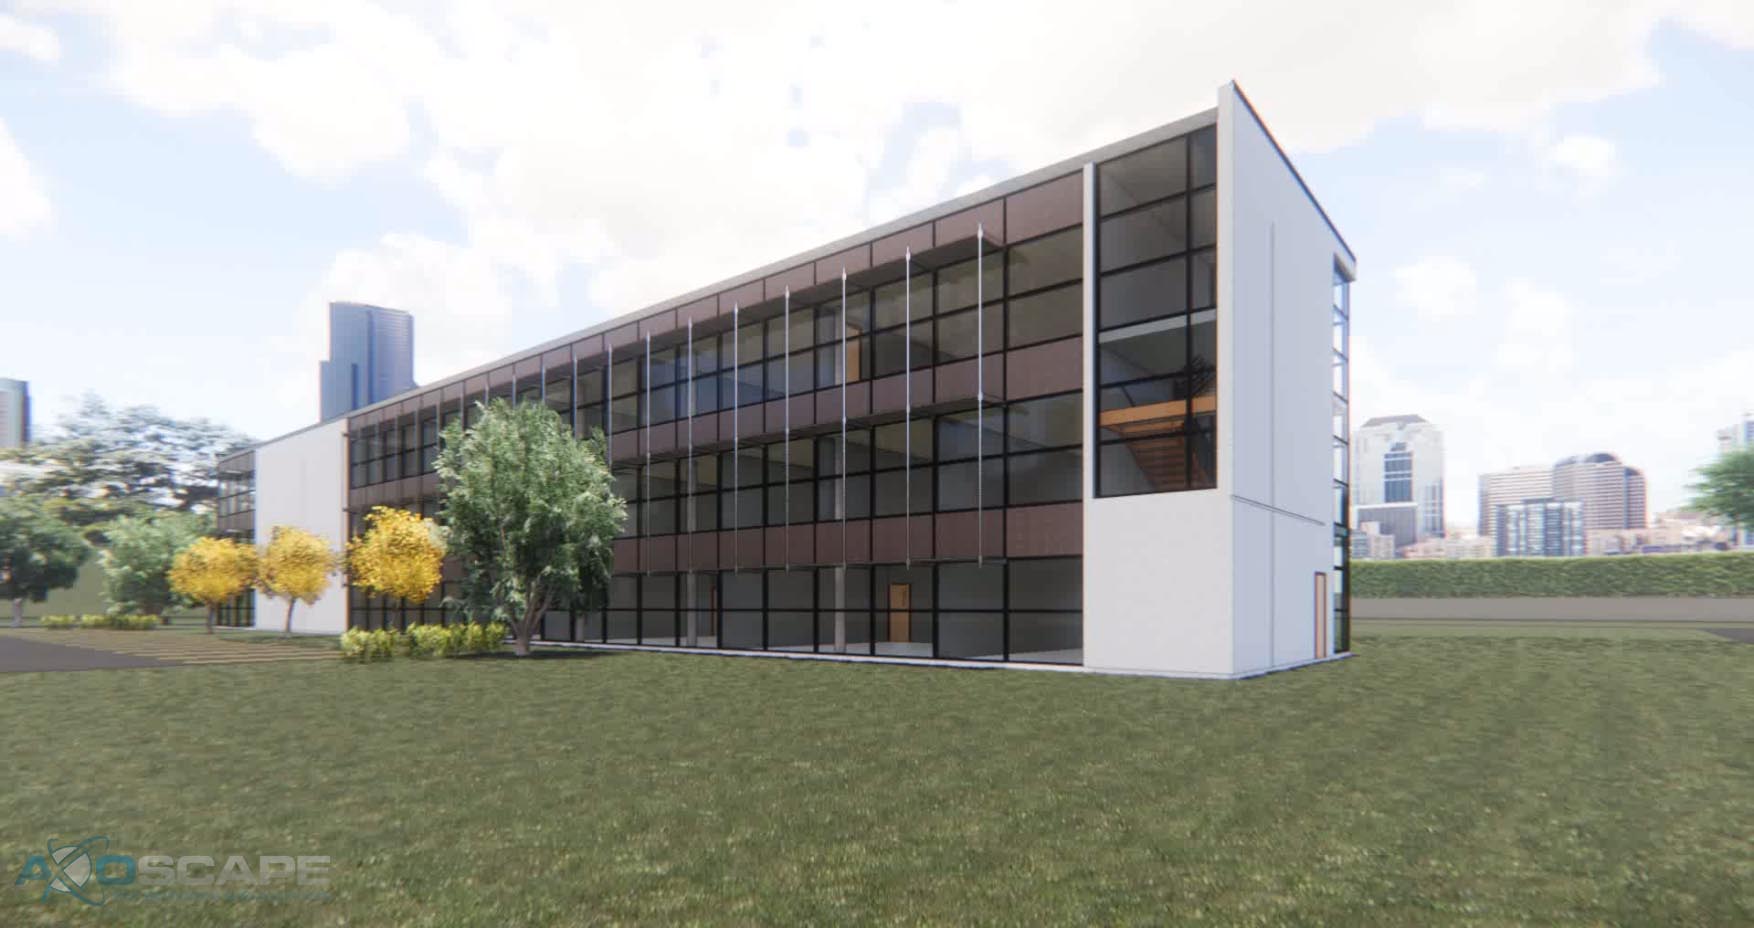
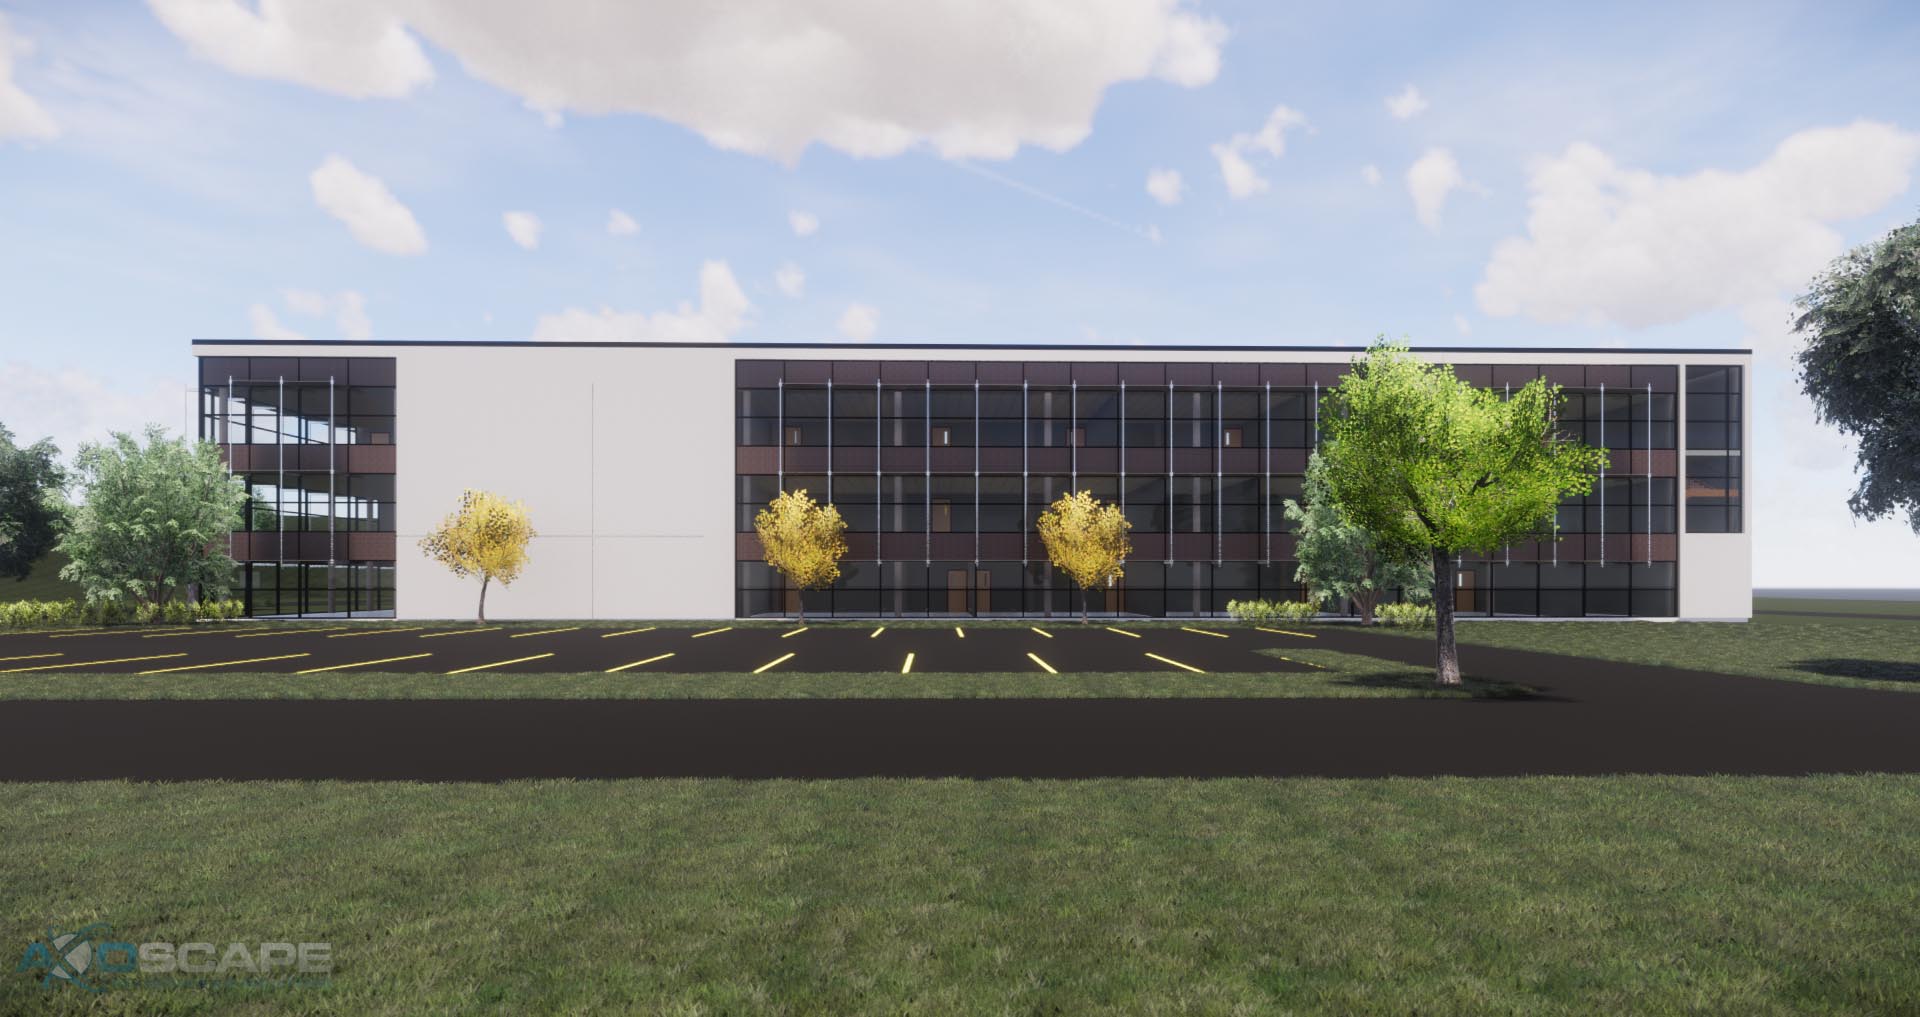
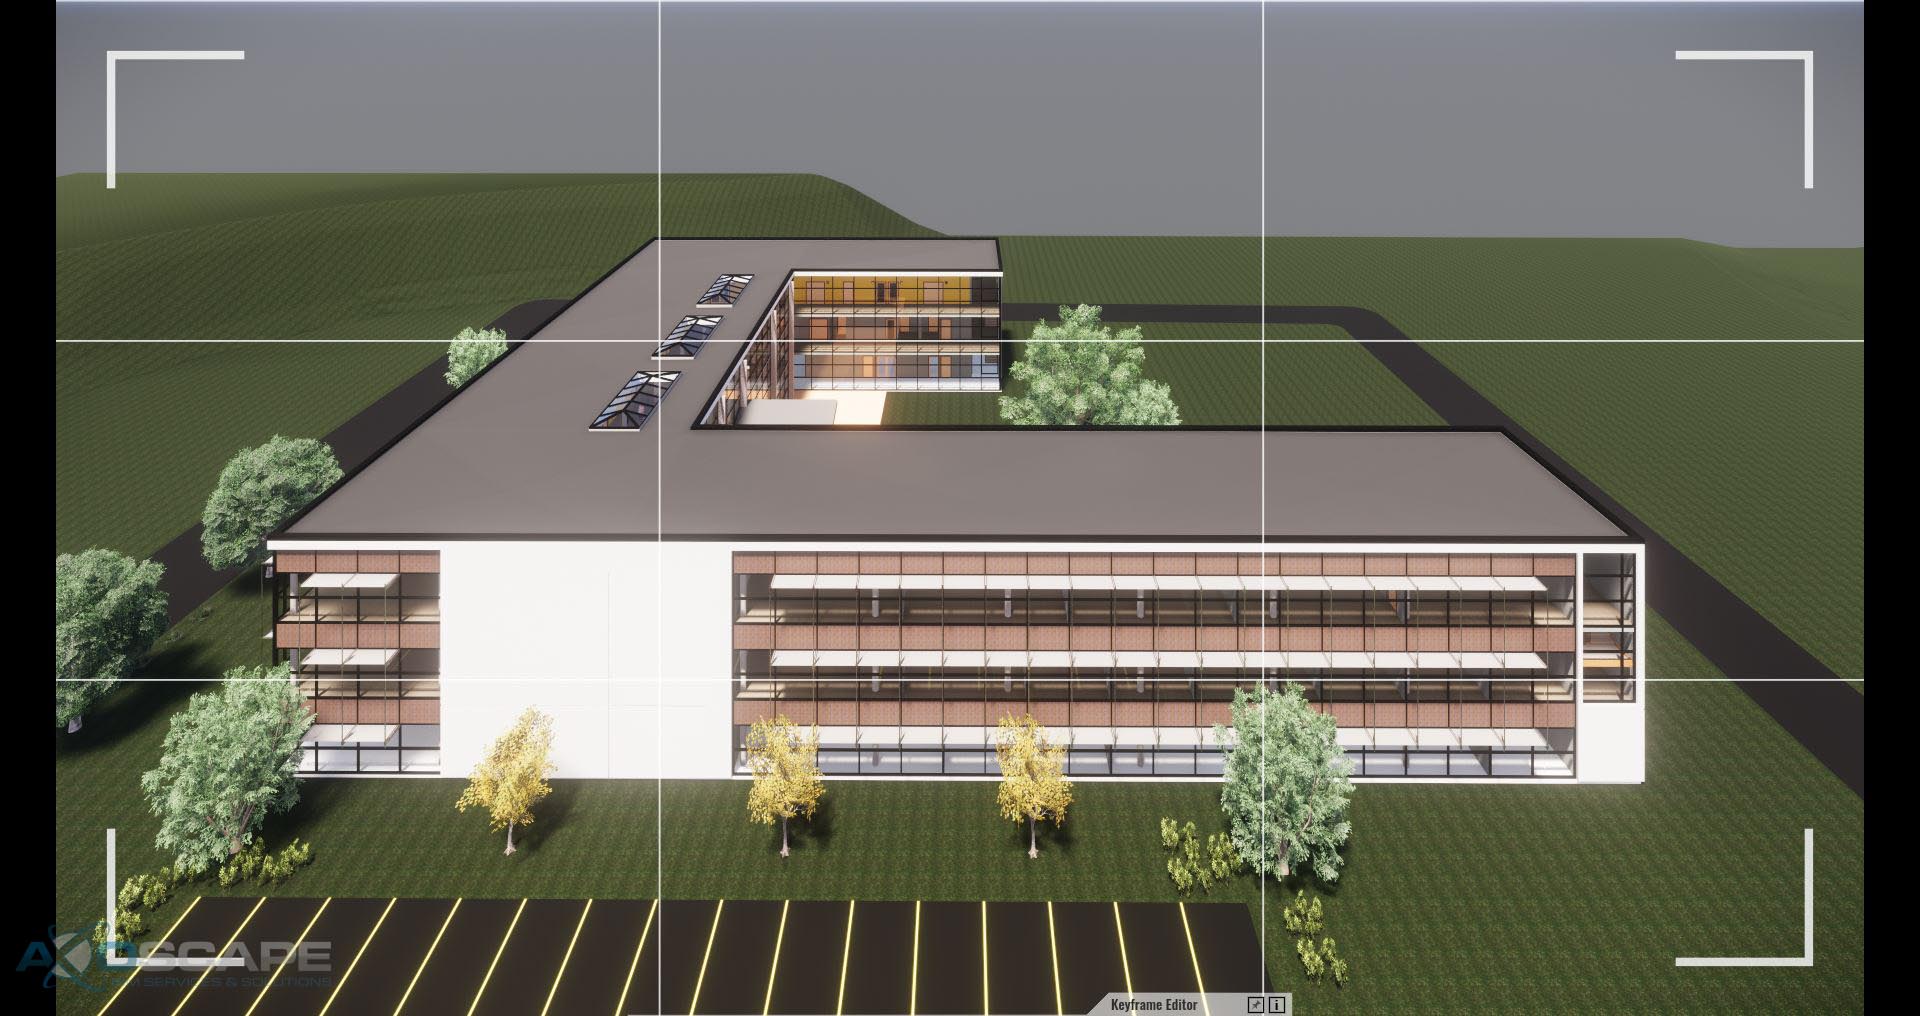
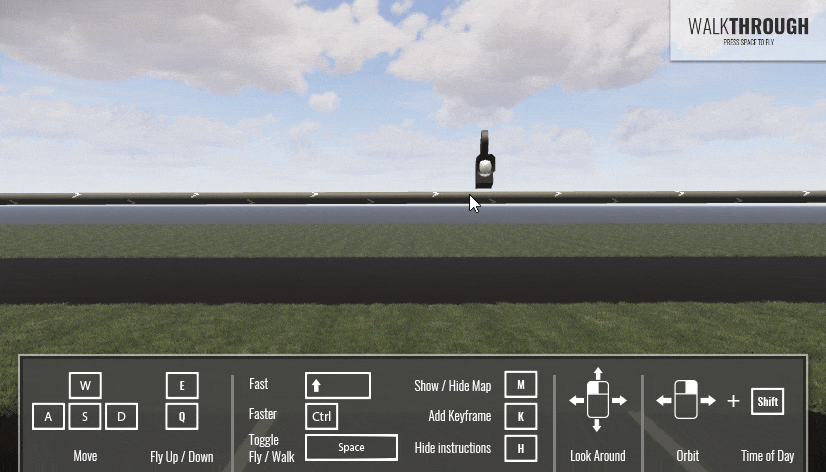
I will be using the 2018 sample Revit building. Once in Enscape, navigate to the spot you want to begin the animation.
Once you have picked the point where you want to begin the animation, tweak the lighting to your liking, frame your scene and press “K” to add a keyframe.
![]()
Don’t worry too much about the angle of the shot or the lighting as those settings can be changed anytime. Right now focus on the path you want the camera to take.
Move to the next point and repeat the above steps to create the different keyframes of the walkthrough.

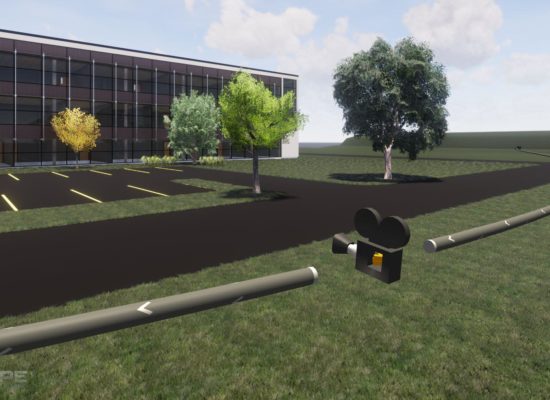
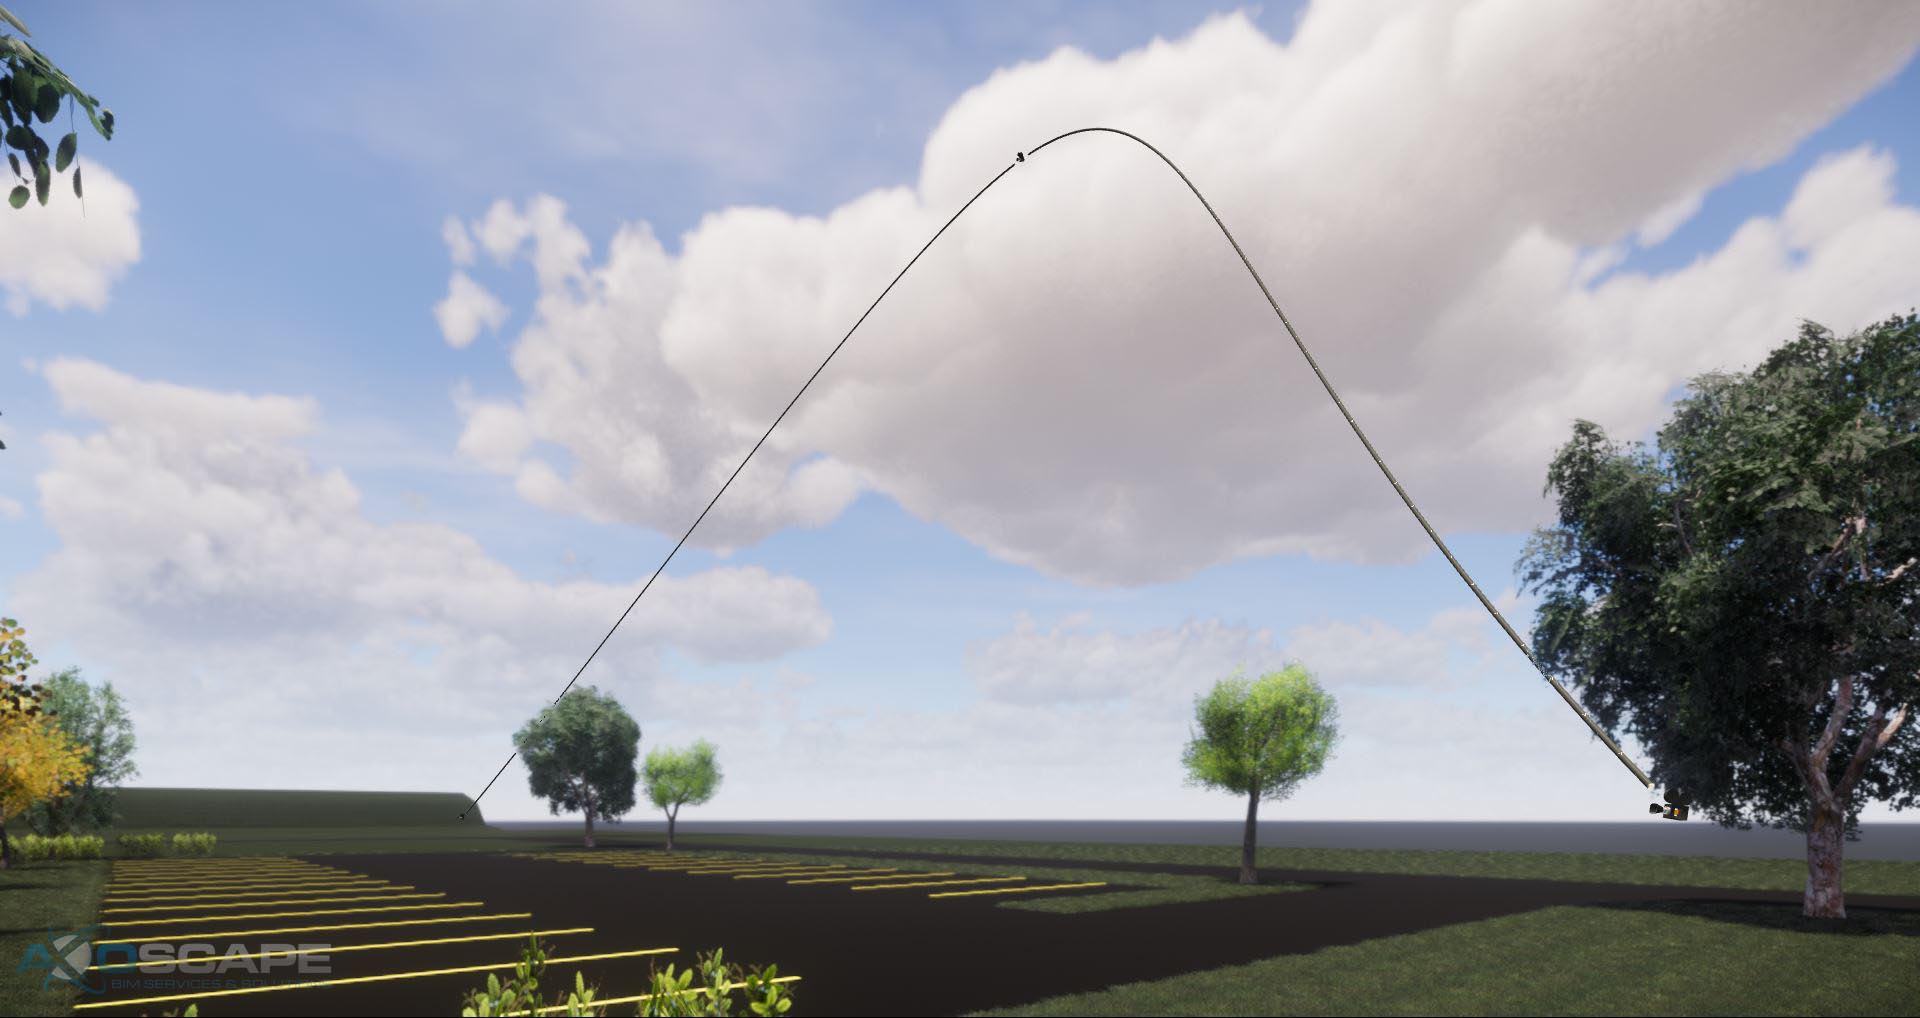
Once you’ve added the keyframes a visual representation of the camera path should appear.
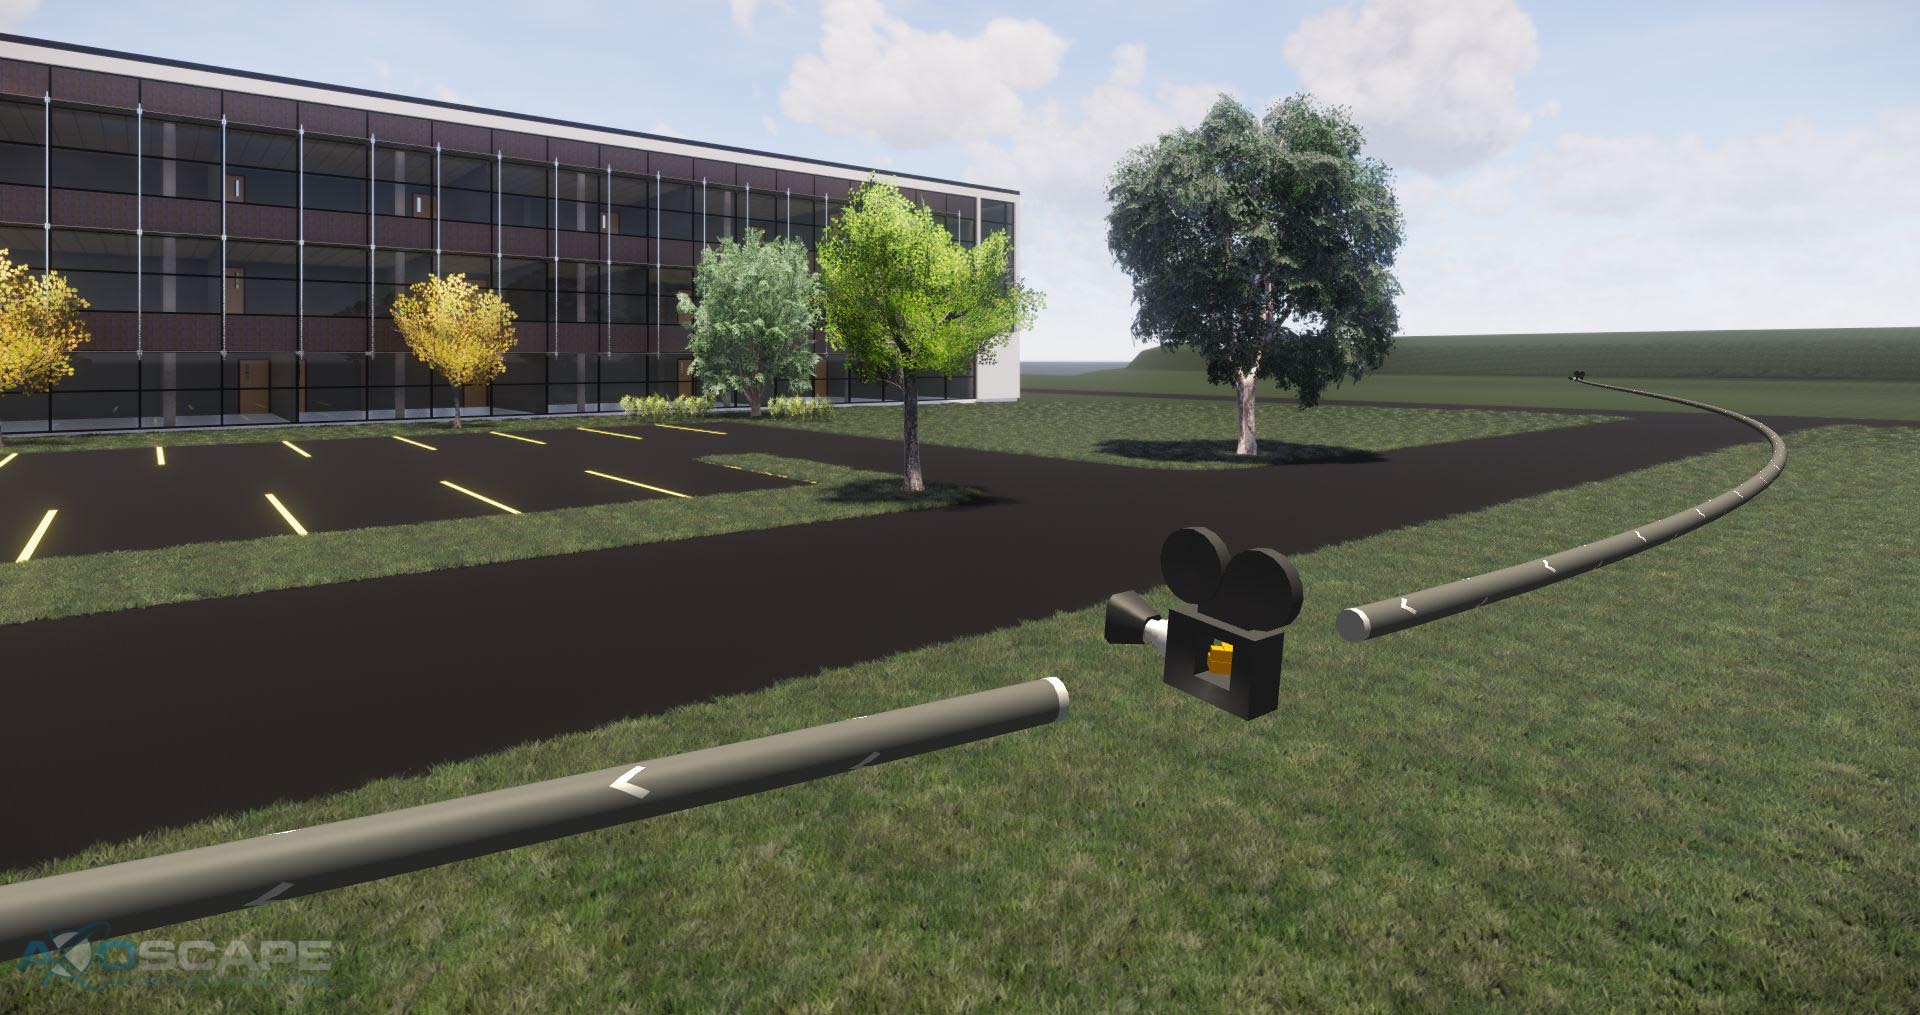
This path is extremely helpful for a couple of reasons. It shows the direction of the camera path, the focal point of the keyframes and is completely interactive.
The camera object on the path represents the keyframes and can be edited. Clicking on a camera will bring up the keyframe editor.
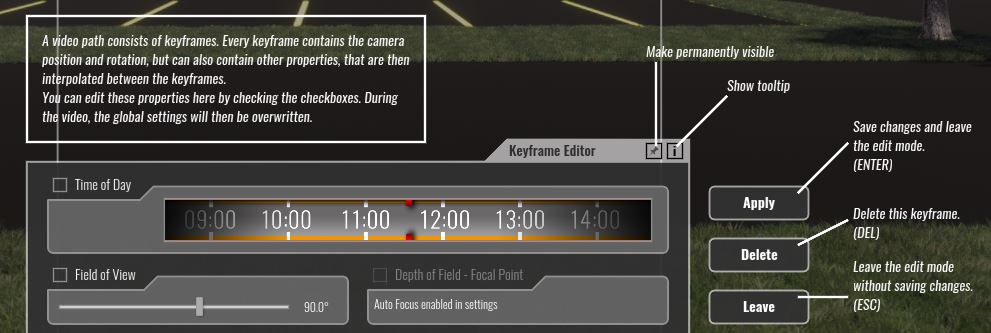
This user interface will let you change all the details within a keyframe. Along with these settings, the rotation of camera and position can also be edited. For example, let’s select the center keyframe and fly the camera above the building. The camera path will adopt this new position and adjust for the change automatically between the three keyframes. Be sure to accept the changes by click on “Apply” to save your changes.
Another useful feature is the ability to delete and add keyframes in an existing path.
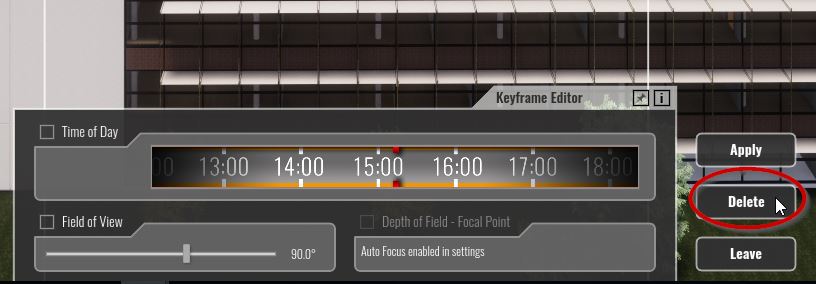
To delete a keyframe select the keyframe you want to be removed and click on delete. This will remove the keyframe from the camera path. To my knowledge, this action is non-reversible.

Adding a keyframe is just as easy, simply hover over any portion of the camera path and click to create a keyframe.
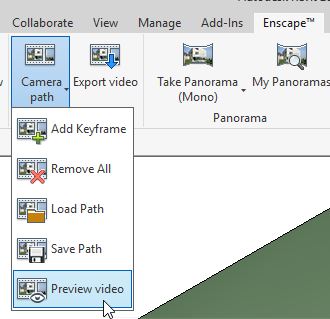
Once all the keyframes have been adjusted and created, test the animation with the preview video command in the Enscape Tab.
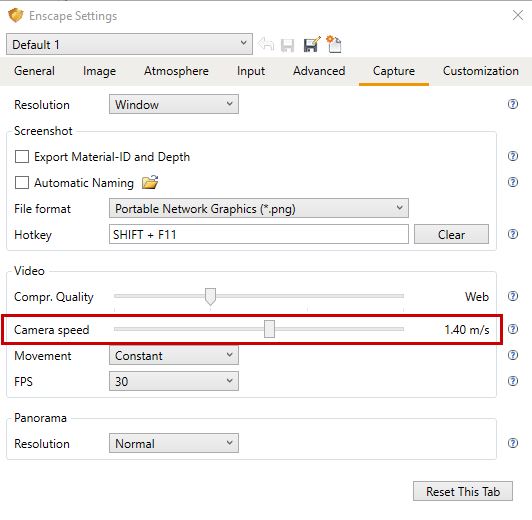
To adjust the speed of the camera go to Enscape settings and adjust the camera speed slider
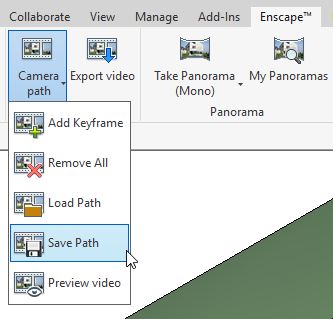
After finalizing all settings, saving the path will export an XML file.
At this point, the path has been created, tweaked, finalized and exported. All that is left to do is to either Export the video or distribute the XML to others to load.
Alternatively, if your computer can handle it, using a screen capture tool to capture the preview video is a great way to get footage for the purposes of finalizing walk through paths. It’ll save a lot of time but it may not give you the quality depending on your needs.