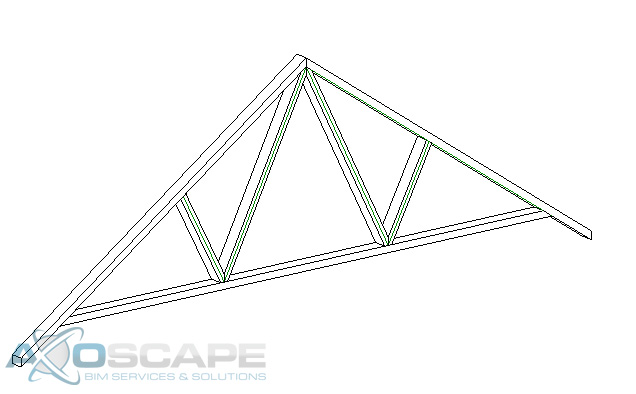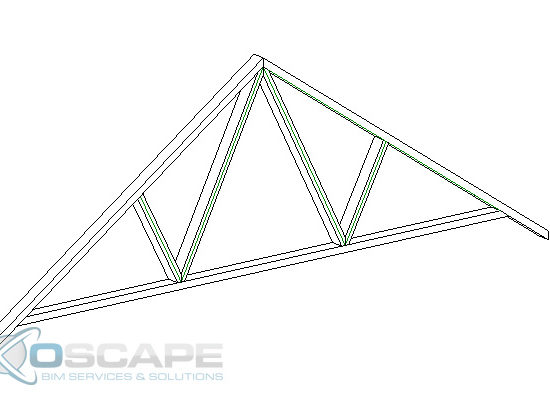
When creating a roof truss, it is tempting to use the one that Revit has supplied. The problem with that is, that truss does not include the overhang that is needed to make a roof truss. Instead, it is better to create a family in which you can manipulate to meet the needs of the project.
- Open up Revit and create a new Structural Framing – Complex and Trusses.
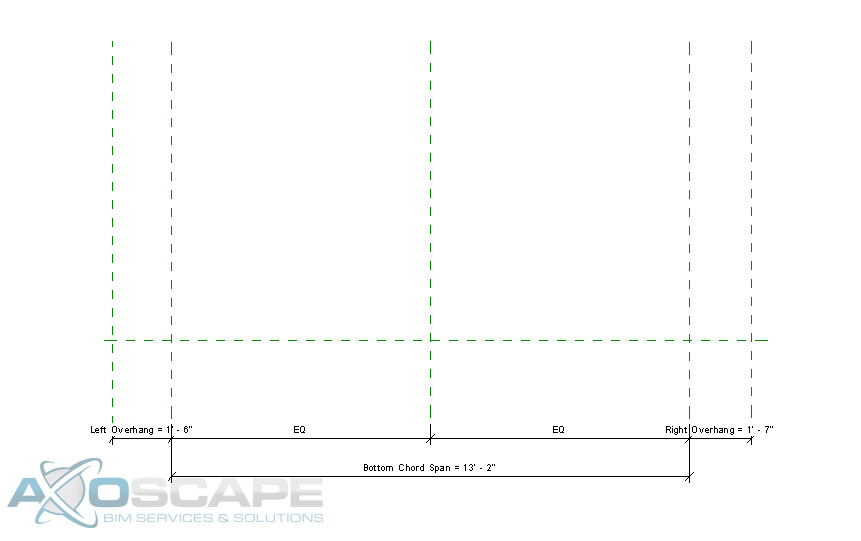
- Open up the front elevation and hide the level in visual graphic (VG).
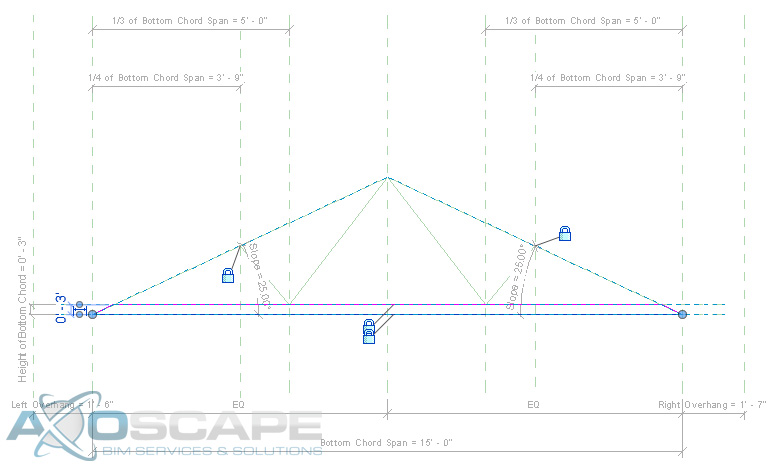
- Create two vertical Reference plans on each side of the center axis.
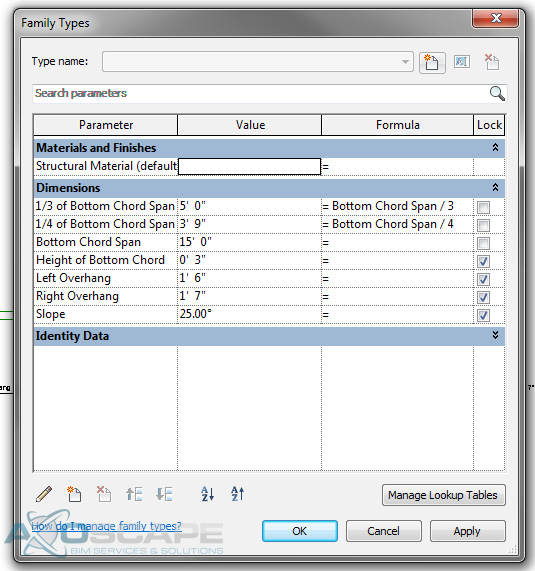
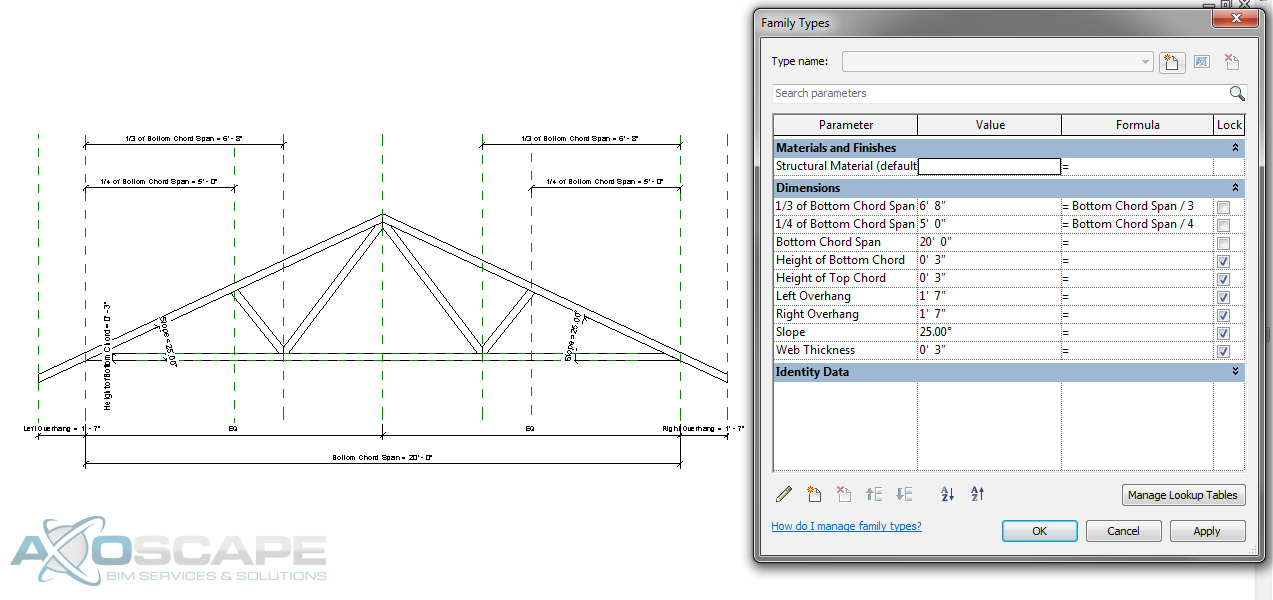
- Add a dimension parameter for the overhangs (left and right) and lock the parameter then equal space between the overhangs with a dimension.
- Add a dimension parameter for the bottom chord span and lock it, then test to see if reference planes change.
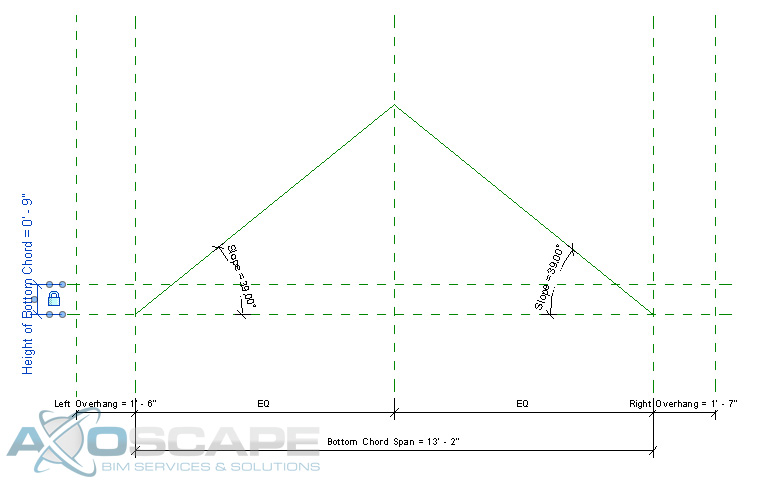
- Using a reference line on each side create the slope of the truss and lock them to the reference planes (make sure to uncheck the chain box and align to the center plane and lock).
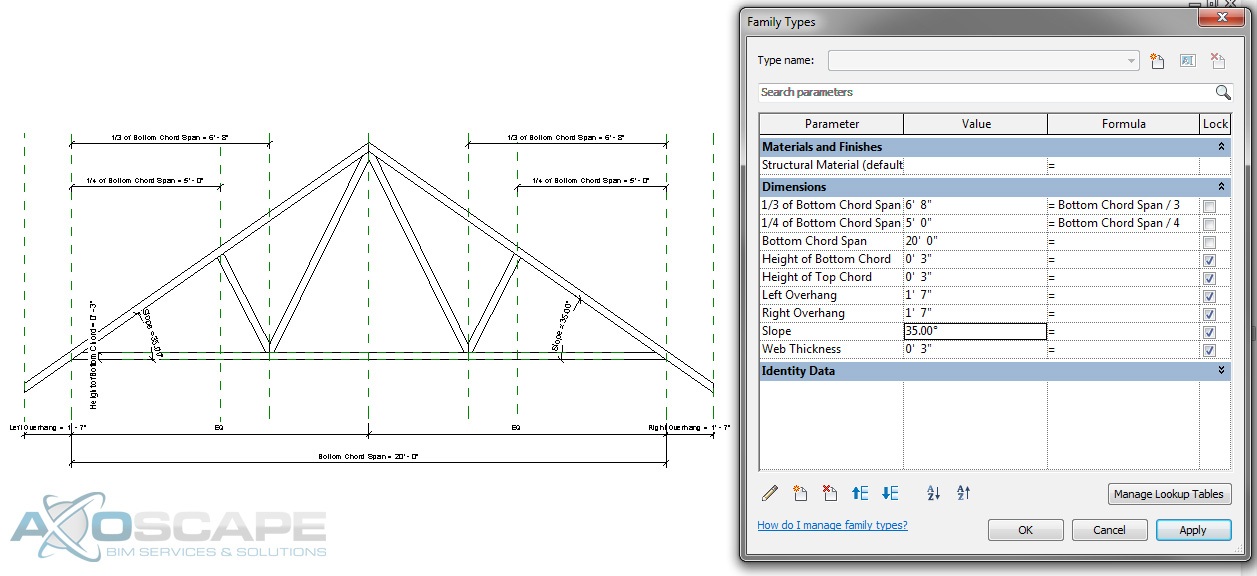
- Then add an angle dimension parameter to each slope and lock it.
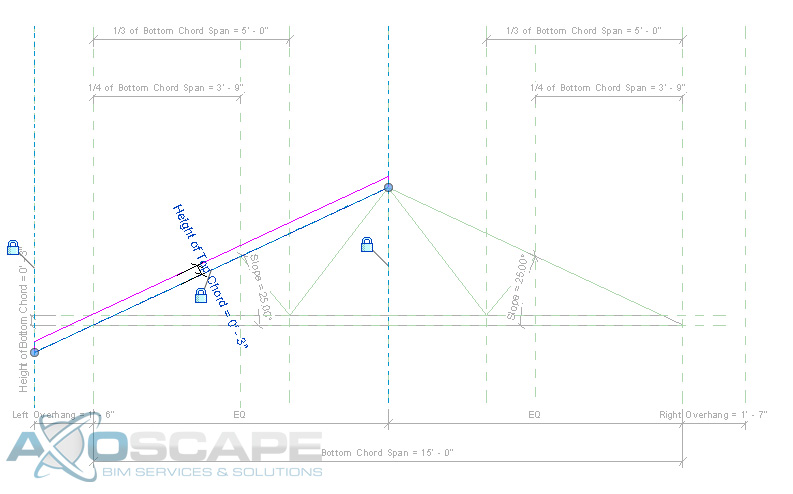
- Add a reference plan for the top of the bottom chord and add a dimension parameter for the height of the bottom chord.
- Test to make sure things are working correctly.
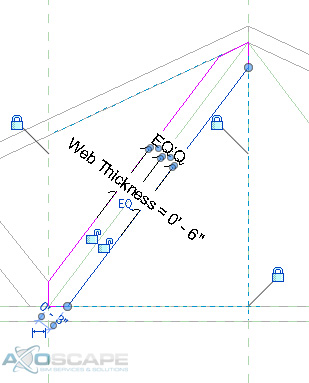
- Next, create the web by using two reference planes on each side.
- Then create parameters for the location of the web intersections.
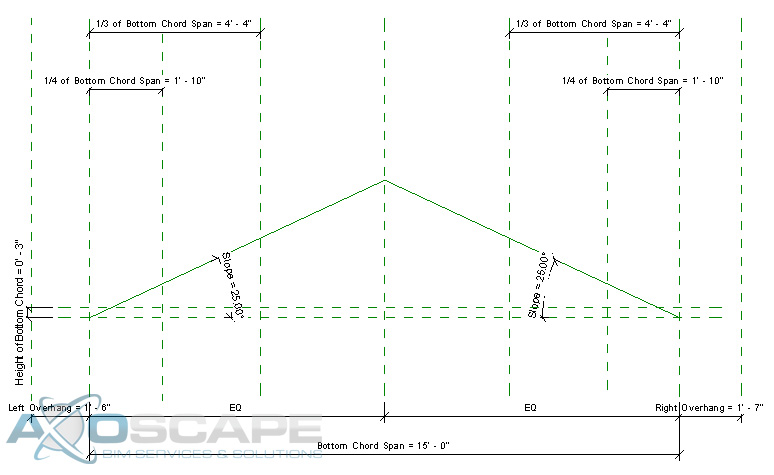
- Then enter formulas for each parameter to control the web placement.
- ¼ of Bottom Chord – Bottom Chord Span / 4
- of bottom Chord – Bottom Chord Span / 3
- Test to make sure things are working correctly.
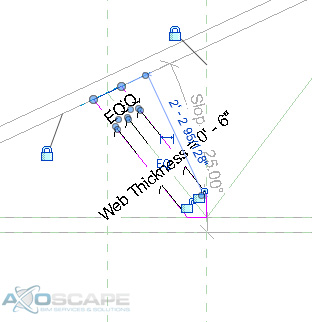
- Add reference lines for the webs to each side and lock it to the top and bottom chords. Then test for function.

- Now using the extrusion tool create the bottom chord span by using the pick lines and trimming to get the shape, also lock the lines to the reference planes.
- Now do the same thing to create the top chord for each side, also add a dimension to control the height of the top chord.
- Now using the extrusion tool to create the web of the truss in two separate pieces. Center the web around the reference line and dimension the width of the web.
- Test to make sure everything works accordingly.
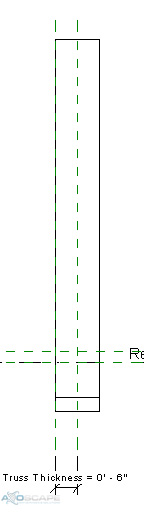
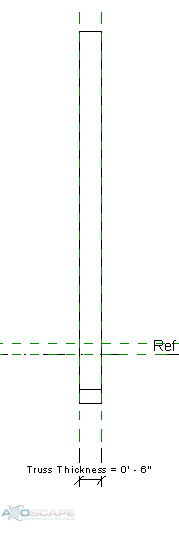
- Now open up the left elevation and create a reference plane for the thickness of the truss and align extrusions to the reference plane. Then test to make sure it works.